
A Tour of the RL Nunley Rod Shop
Welcome to the R.L. Nunley Bamboo Rod Shop. The following are just
a few pictures give you an idea
of what the inside of a Bamboo Rod Shop looks like.
Only the finest Tonkin Cane is used in the making of a quality
fly rod.
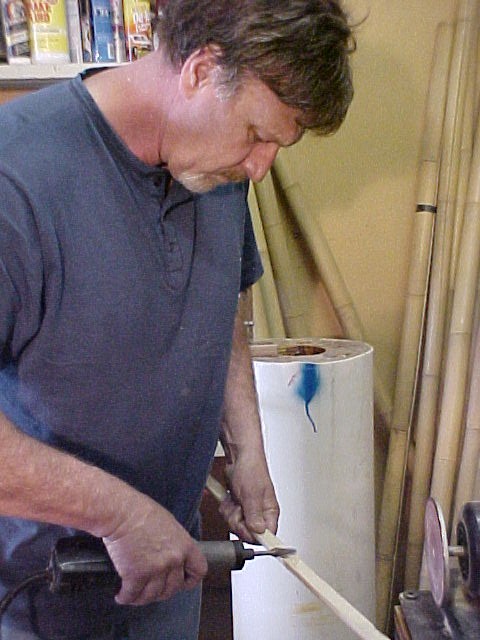
Here I am in my old shop in Oklahoma flaming a cane pole with a propane torch.
I use 3 different flaming methods, depending on the end result I desire for a particular rod.
The Bamboo is split with a knife called a Bamboo Froe. I will split the pole into halves then quarters and
work from there depending on my needs for the rod.
The split strips must be prepared for the beveller. That includes grinding out
the internodal dam, pressing the nodes flat and striaghtening the strip. The strips have to be VERY straight
before they can be properly tapered into strips for the rod.
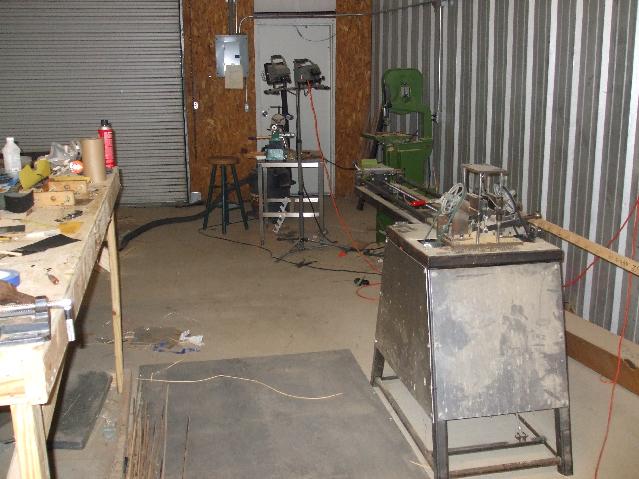
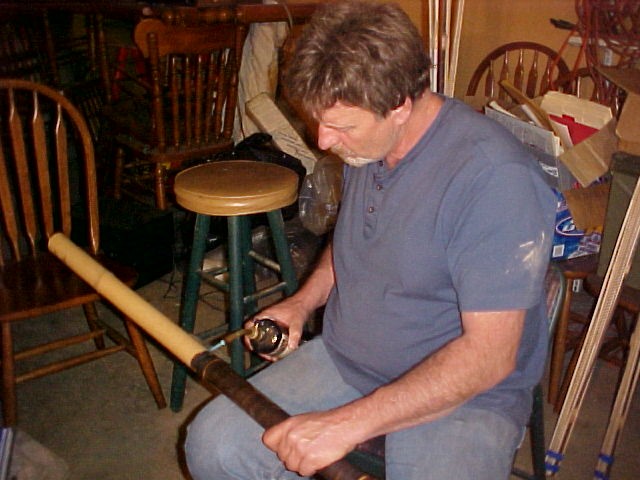
Here is the beveller in the shop, loaded with the pattern board for a 7 1/2 foot 5
weight butt section. In the background you can see more tools, including my wood lathe and one of my shop
saws. On the front corner of the workbench is the vise that I use to press the nodes on the
strips.
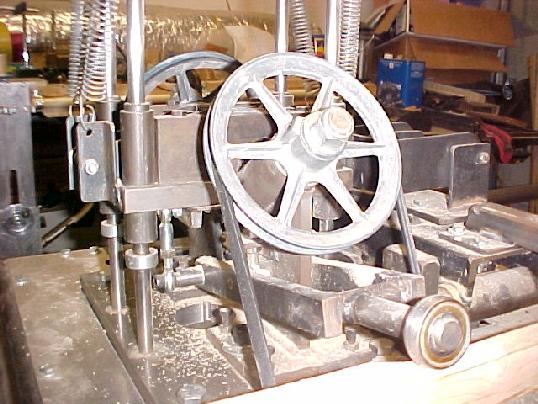
Here is a close up picture of the beveller, a relatively complicated
machine which cuts the tapered strips out of the straightened and prepared strips
of bamboo. This is the machine that cuts all of my hex rods. You
can see all of the fine bamboo dust on the machine. This Beveller is built on the same principle as
the H.L. Leonard Company’s Saw Beveller that made most of the Pre-Fire
Leonard Rods.
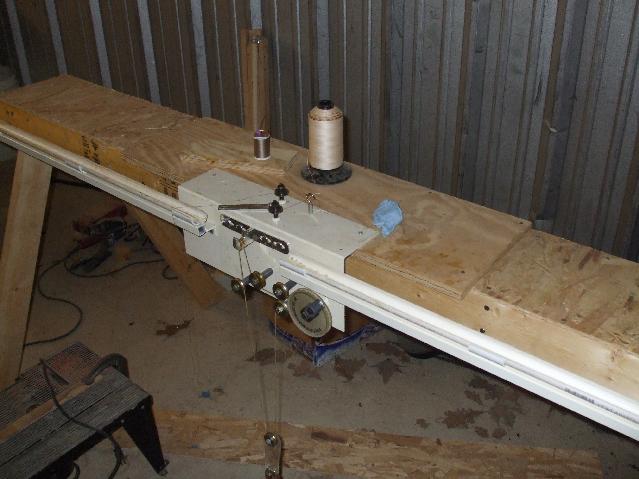
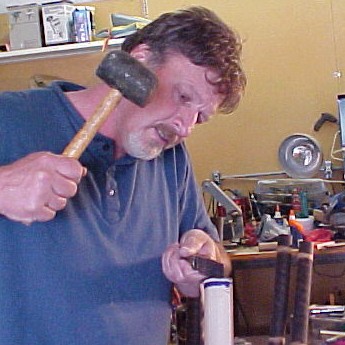
After I cut the strips to their final taper on the beveller, they need to be
heat treated. In order to hold them in position and hold them tightly together
while they are being heat treated, I run them through this machine called a
Binder. Aptly named, the Binder "binds" the strips together
with a glace cotton thread. The machine rotates the bundle of strips and wraps
it with the thread at a predetermined tension.
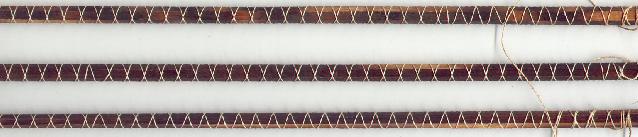
Here is what the strips look
like bound together and ready for the heat treating process.
After heat treating, the strips are meticulously checked for integrity.
Glue is then
applied to them and they are ran through the binder again. After the glue cures, they are sanded and
prepared for the mounting of hardware and finishing.
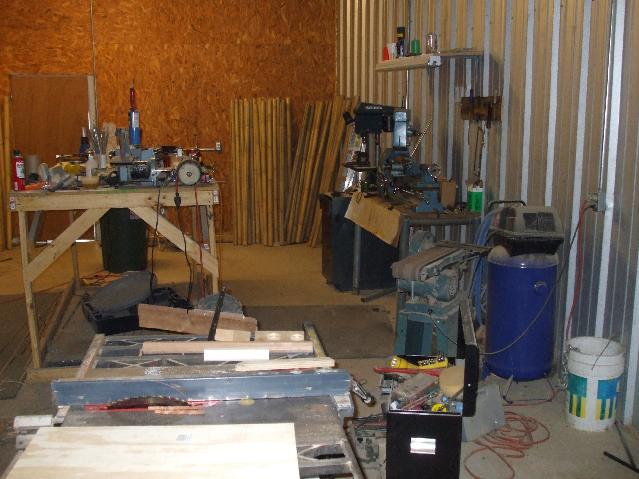
This is the other side of the back room of the shop. The back room is
where all the cutting, milling, making of reel seats, ferrules, and any work that can produce dust
is done. You can see the Metal Lathe, the air compressor, a 6" belt sander, and a small drill press
along the wall. On the corner of the bench is a buffing wheel and a small 1" belt sander.
In the foreground is the table saw I use to cut the reel seat woods into octagonal blocks before
I turn them. On the table saw are pieces of butternut, burl maple and Thuya burl. In the far corner
of the room, you can see the bamboo that I have cut and sorted, ready to be split, straightened
and pressed.
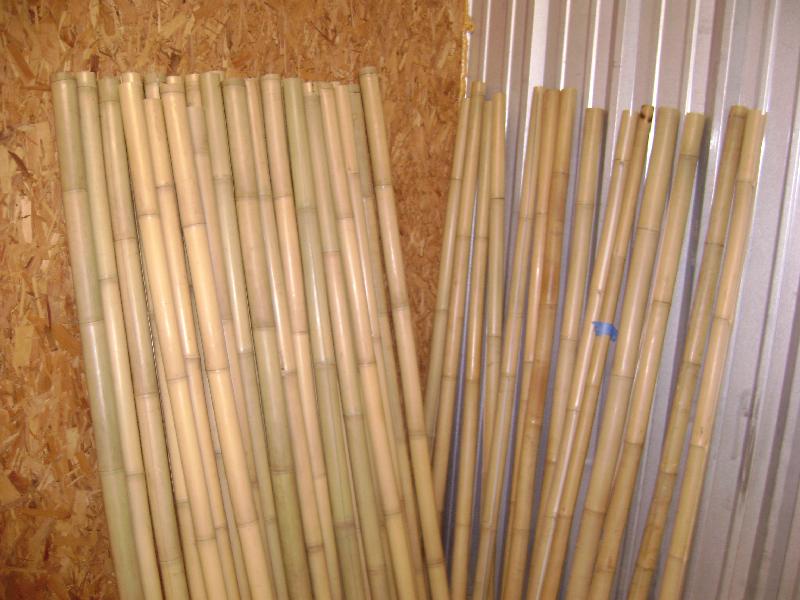
Here's a closer shot of the cut
and sorted cane in the corner of the shop.
There is a lot more of this, in full 10 foot lengths stored overhead.
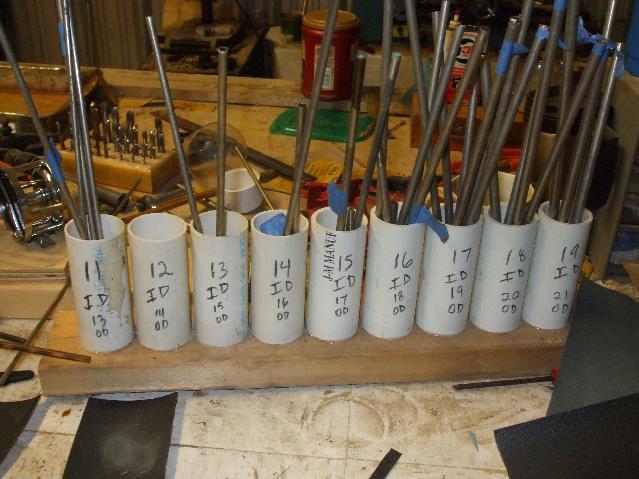
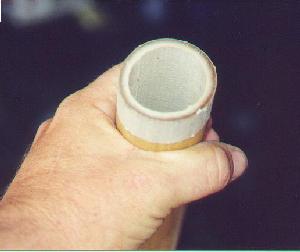
This is the Nickel Silver tubing
that I use to make ferrules. It's sorted by
inside diameter. As of this update, we are working on two new tools.
One is a machine to draw different diameters of Nickel Silver tubing so I can
continue to make my own ferrules. The other is a new bamboo miller.
Similar to the Payne Miller, could be in operation as soon as the end of 2009.
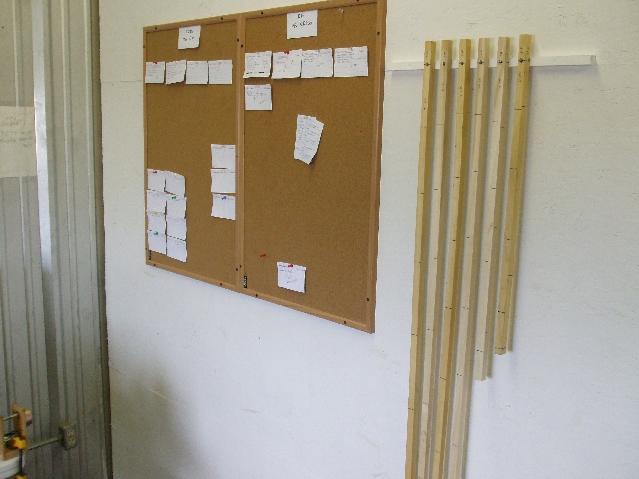
The sticks you see hanging
on the wall here are my guide spacing rules.
I have many of these, but these are the ones
most commonly used, so I keep them hanging on the wall
in the front shop where wraps the guides.
The boards to the left of
the sticks are my "Work Boards" The one on the
left is rods on order or
jobs to do and the one on the right is a
"Jobs in Progress" board.
These boards are actually mounted on the outside
of the Varnish Room.
The Varnish Room is a 4' X 8' room that's reasonably well sealed. It has
a deionizing dust filter in it large enough to clean dust out of a room 10
times it's size. It also has a humidity and temperature monitor... Humidity
is my worst enemy when I'm varnishing, so if it's too high, I can put a
dehumidifier in the room and get it down to reasonable levels.
As time allows, very soon, I'll take
pictures of the rest of the front of the
shop so you can see where I do my wrapping and finishing.
If you have any questions about my
rods, or the shop in general, feel free to email at the link below or call me
at
Copyright © 2007-2014
R.L. Nunley, Rodmaker
Bob Nunley
PO Box 1842
Mountain Home, Arkansas 72654
(479)414-6470
email:
bobnunley@rlnunley.com